Catch the transition
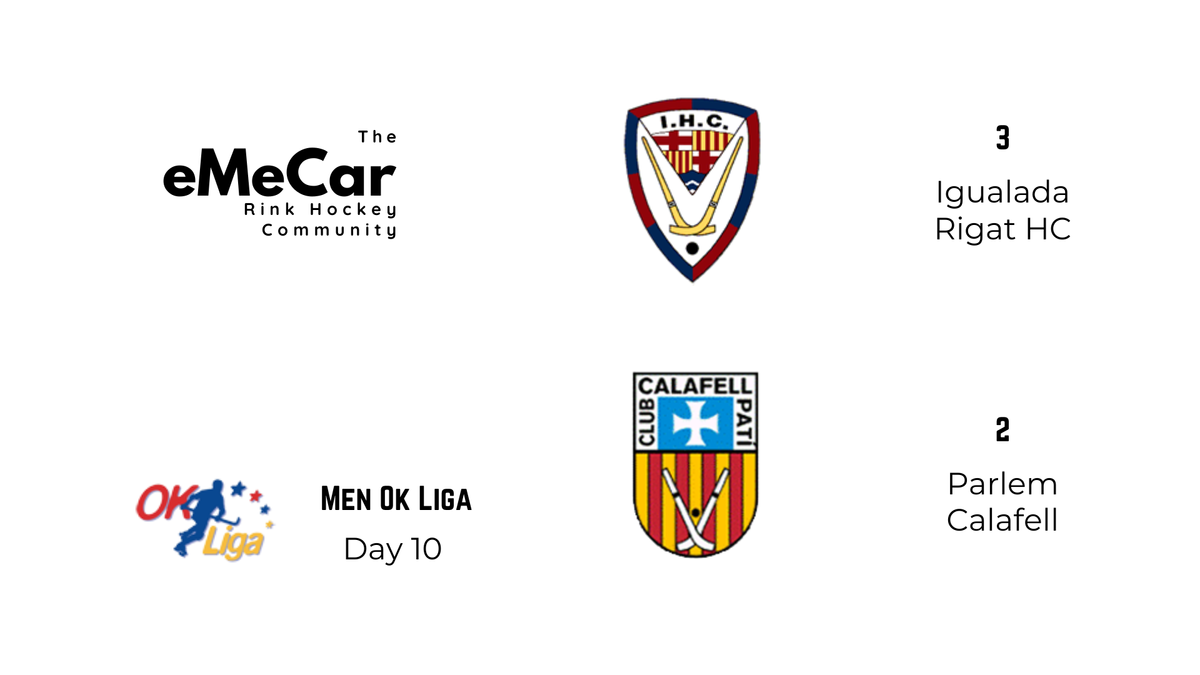
Today’s breakdown focuses on Day 10 of the OkLiga, featuring Igualada and Calafell. The match ended 3-2 for the locals. A quick note about Calafell—they’ve been playing solid hockey but struggling with results lately. Keep at it; the wins will come!
Keep reading, Aussie—I’m looking at you.
How to Follow the Breakdown:
- Watch the video.
- Read the analysis.
- Match it with the play (start at 1:30).
My Not-So-Humble Analysis
1st Transition
We start with a 3-on-3 transition. Igualada, defending, prioritises safe marking to minimise risk and prevent a counter-attack.
Key observation: All Igualada defenders hold their lanes, even when their attacker doesn’t have the ball. Their positioning ensures the area stays protected. A snapshot of this moment would show a completely clear “9 zone” (the penalty area), devoid of both defenders and attackers.
On the offensive side, Calafell executes a textbook counter-attack. They maintain one player in each lane (right, middle, left) while forming a triangular shape. However, trouble starts when Calafell crosses the 3-zone.
Rushing the Play
Calafell makes a critical mistake—they rush their execution from the side. The weak-side player cuts in, and the ball carrier attempts to penetrate. But Igualada’s defenders are rock-solid, leaving no viable options.
The error? Calafell forces the play, leading to a loss of possession even before an attempt is made. Their decision-making falters under pressure, setting the stage for an Igualada counter.
The Counter Counter-Attack
Calafell’s attempt ends with the ball carrier crashing into a teammate, blocked by two Igualada defenders. The forced, impossible pass seals their fate.
Here’s the key moment: Two Calafell players are down, while only one Igualada player is off balance. Another Igualada player quickly regains control, sparking a counter counter-attack.
Igualada’s Transition
Now it’s Igualada’s turn, leading a 3-on-2 counter-attack. The third Calafell defender is closing in but remains a step behind. Igualada executes another play straight from the hockey manual:
- One attacker per lane.
- A triangular shape.
- Quick ball movement to the most advanced player.
As the play progresses, Igualada’s right-lane and mid-lane attackers swap positions, creating an extra advantage. The move leads to a scoring opportunity in the penalty box.
Positioning for Success
Igualada’s positioning in the box is crucial. The attackers are ready for rebounds, and this preparation pays off.
While the Calafell defenders fail to follow the secondary play, Edu Fernández (Igualada #66) capitalises. He collects the rebound mid-air, gets a second touch, and scores Igualada’s second goal.
Takeaway:
Transition hockey is all about timing, positioning, and patience. Calafell’s rushed play contrasts sharply with Igualada’s controlled execution, ultimately defining the game.
Grab a stick & keep skating!
